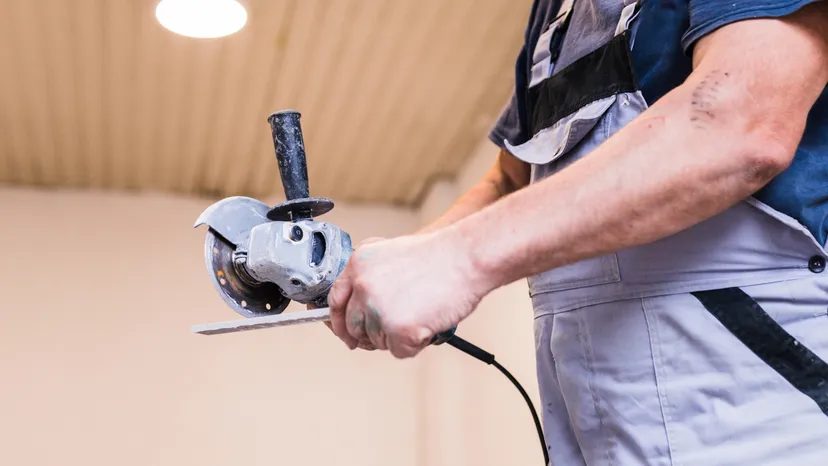
Ceramic is unforgiving. One wrong move and you are left with a shattered mess and a hole that looks like it was punched by a rusty nail. You cannot treat tile like drywall or wood. The surface is hard, brittle, and prone to cracking under the wrong conditions. If you want a clean, functional hole, you need to change your approach entirely.
Most homeowners reach for a standard twist bit. This is a mistake. Standard bits grind rather than cut. They generate heat. They slip. And when they slip on a slippery glazed surface, the tile cracks. You need tools designed to slice through stone-like materials.
Choosing the Right Bit
There are two main options that actually work. You will not get a good result with anything else.
Diamond-tipped bits are the premium choice. They are expensive, yes. But they are durable. They do not burn out easily. These bits are designed to grind away the material slowly. However, they have a major requirement: cooling. Without water or constant cooling, the friction heats up the diamond grit. That heat transfers to the tile. The thermal shock shatters the ceramic.
Tungsten carbide bits are the budget-friendly alternative. They are ground with a cone-shaped tip. They are effective, but they require a different technique. They must be used at very low speeds. If you spin them too fast, the friction melts the glue holding the carbide to the shaft. The tip falls off, and your tile is ruined.
Both types create a cone-shaped hole. This is normal. Do not try to force a flat-bottomed hole in the initial pass. Let the tool do the work.
The Technique
Patience is not just a virtue here; it is a requirement. Speed is your enemy.
- Secure the tile. If it is loose, clamp it. If it is on a wall, brace your body. You need stability.
- Mark the spot. Use a marker or tape. A drill bit will wander on glaze like a car on ice.
- Start slow. Begin with the drill at its lowest speed setting.
- Apply minimal pressure. Do not push hard. Let the weight of the drill do the work. If you lean in, you risk snapping the tile.
- Keep it cool. For diamond bits, use a spray bottle or a wet sponge. For carbide bits, just keep the speed down.
“Drilling through ceramic tile requires patience and time; keep a slow steady hand on the drill to prevent damage to the tile.”
If you feel the drill bogging down, stop. Pull it back. Clear the debris. Restart at low speed. Rushing this process is the number one reason DIYers end up buying new tiles. Take your time. The hole will be clean.


