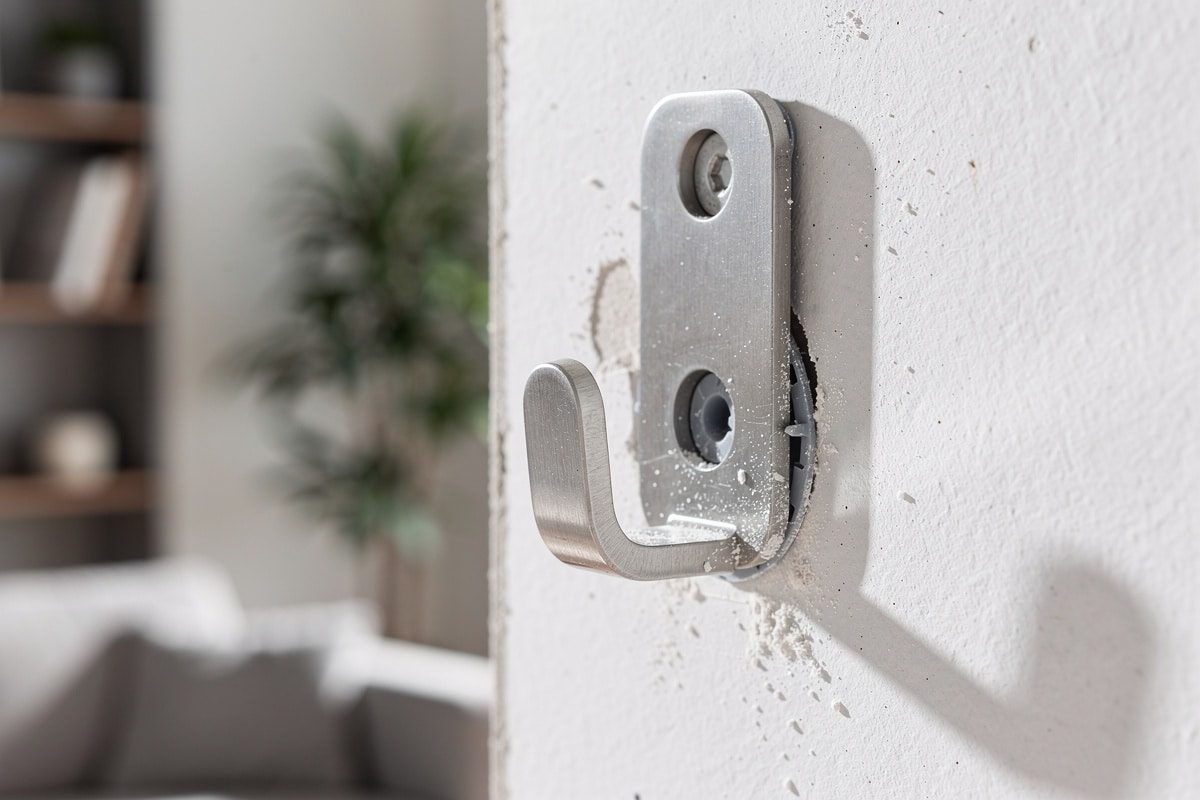
Your walls are crying. You can feel it. The coat is already a crumpled heap on the chair because you’re terrified the hook will rip out of the plasterboard for the third time this month. Who hasn’t lived through the epic saga of the coat rack tearing free from the wall just when you needed it most? During the holiday season, when coats pile up at the entryway, the solidity of wall anchors becomes the only thing that matters.
Winter isn’t just about light and sharing. It’s also the season of domestic disasters worthy of a blooper reel. The good news? There is finally a reliable solution. A method that revolutionizes fixing hooks to drywall and hollow walls. Let’s take a quick look. It’s time to say goodbye to unexpected hangings.
Зміст
Why Hooks Rip Out of Drywall
For the beginner DIYer, the devil starts with a sigh when looking at drywall. It’s not soft. It’s not robust. Yet this partition type reigns supreme in most modern French homes. Drywall, or plasterboard, is king when you want to save time on construction. It becomes the nightmare for anyone trying to hang anything heavier than a poster.
The main weakness of hollow walls—whether plasterboard, plaster tiles, or hollow bricks—lies in the structure itself. Thin walls. A void behind them. Naturally limited load-bearing capacity. The result? When the load increases or traction becomes lateral, traditional fasteners stand no chance.
Classic errors lead directly to disaster. Driving a standard screw without a plug. Using basic plastic anchors. Overloading the hook. Many think that with a little luck, “it will hold.” Unfortunately, chance has never reinforced a partition.
So, how do you spot a hook about to leave the wall? Subtle cracking. A hook starting to “hang” loosely. Plaster crumbling around the plug. These are early warning signs. One winter morning, while putting on your coat, it will be too late.
The Reliable Method: Anchors That Resist Everything
Fortunately, there is a technical workaround that has proven itself in the worst conditions. Its popularity is growing rapidly in the DIY world. We are talking about expansion anchors, known as “Molly” bolts, and specific self-drilling anchors for drywall.
The Molly bolt is the ultimate weapon against peeling. It is invading toolboxes everywhere. By expanding behind the drywall partition, it forms a solid anchor that distributes the load. This prevents tearing. It is the dream system for hollow walls often mistreated by the weight of wet winter coats and full backpacks.
The revelation doesn’t stop there. Self-drilling anchors allow you to screw in with a single motion. No need to pre-drill. They ensure powerful fastening in drywall. Their specific threading bites into the board. It offers impressive resistance even solo. This works well for small objects or light hooks.
But pay attention. The choice of fastener depends entirely on the type of hollow wall you encounter. On plasterboard, the Molly bolt is sovereign. On hollow brick, you should prefer a specific expansion anchor or toggle bolts for reinforced holding.
Step-by-Step Guide to a Truly Solid Hook
To cross this bridge without trouble, prepare your project seriously. This winter, between holiday recipes and frantic toy battery runs, taking time to equip yourself correctly guarantees peace of mind for years.
Here is the material you need on hand:
- 1 drill (if you need to pre-drill for a Molly bolt)
- Molly bolts or self-drilling anchors suited to your wall (choose size based on drywall thickness and weight to support)
- An expansion pliers set (for Molly bolts)
- A screwdriver or drill driver
- A spirit level (to keep the hook straight)
- A pencil for marking
Installing a Molly bolt or self-drilling anchor follows clear steps. First, locate and mark the position. Then, drill (or skip this step if using self-drilling anchors). Insert the Molly bolt into the hole. Use the expansion pliers to deploy the wings behind the wall. Finally, screw the hook firmly. For self-drilling types, just screw directly into the drywall until the collar meets the surface.
The ultimate tip from an experienced DIYer? Bet on a bolt adapted to the exact weight to be supported. It is better to oversize, especially in a busy family entry or as winter approaches. Coats get heavy. A washer under the screw head can also help distribute pressure. This increases the lifespan of the fix.
The Reality of Weight Distribution
There is a misconception that any screw holds. It doesn’t. Not in hollow walls. The friction alone is useless. You need mechanical interlock. That is what the Molly bolt provides. It pushes out against the back of the drywall. It creates a broad contact area. This spreads the stress. It prevents the point load from crushing the gypsum core.
Think about it. A wet wool coat weighs significantly more than you realize. Add a backpack. Add a hat. The force isn’t just down. It pulls out. If your anchor isn’t expanding behind the wall, it will pull right through the paper facing. The gypsum will crumble. The hook falls. You stand there in your socks.
Choosing the Right Tool for the Job
Not all drills are created equal. You don’t need a heavy-duty hammer drill for drywall. Impact mode will destroy the board. You need a standard drill setting. Or a drill driver. Speed matters. High speed can burn the plastic of the anchor or melt the drywall dust into a hard plug that won’t accept the screw. Go slow.
If you are using Molly bolts, the expansion pliers are non-negotiable. You cannot skip this step. Trying to squeeze the wings with regular pliers won’t work. The mechanism requires specific leverage. These pliers are cheap. They fit in any toolbox. They ensure the wings deploy fully.
Measure twice. Drill once.
Safety and Long-Term Maintenance
A loose hook is a tripping hazard. A falling coat rack can damage floors. Or heads. Check your installations every few months. Especially during the high-traffic winter months. If you hear a creak, address it immediately. Don’t wait for the crash.
Consider the environment. Humidity affects drywall. In bathrooms or unheated entries, the board can soften. Anchors may grip less effectively. In these zones, rely on the strongest available option. Molly bolts are usually the best bet.
This isn’t just about hanging coats. It’s about peace of mind. It’s about knowing your home is secure. When the next snowstorm hits, you won’t be worrying about your entryway. You’ll just be hanging up your gear.
The rest of the battle involves dealing with the actual hooks themselves. Which ones bend? Which ones rust? That’s a story for the next chapter.
Stop treating your walls like temporary storage solutions. The era of hasty fixes and collateral wall damage is over. When you use the right expansion anchors and self-drilling screws, you eliminate the guesswork. No more multiplying quick-fix points or reinforcing plasterboard with makeshift patches.
The goal is simple. You want heavy coat hooks that defy time. You want a mudroom that survives winter without crumbling.
Why Drywall Needs the Right Anchor
Plasterboard is brittle. It has no structural integrity on its own. Pull too hard, or drill the wrong hole, and you create a crater. The solution isn’t glue. It isn’t double-sided tape. It’s mechanical expansion.
Choosing the correct anchor type is the only way to ensure your entryway doesn’t turn into a pile of plaster chunks by February.
Selecting the Fastener
Not all plastic plugs are created equal. If you are hanging standard wall hooks for light jackets, a basic plastic rawl plug might suffice. But for heavy winter coats, bags, and umbrellas? You need expansion anchors.
These anchors work by expanding inside the hollow core or solid backing of the drywall. They distribute weight across a wider area than a simple screw. This prevents the screw from pulling out or tearing through the paper face of the gypsum.
Self-drilling anchors take this a step further. They cut their own thread into the material as you drive them in. No pre-drilling for small diameters. Less mess. Faster installation.
Preparation Is Non-Negotiable
You cannot skip the prep work. Rushing this step is why people end up with cracked walls.
- Identify the wall type. Is it standard drywall? Plaster? Solid brick behind the plaster? A stud finder helps locate wood or metal studs. If you hit a stud, use a wood screw. Skip the anchor entirely.
- Mark the spot. Use a pencil. A light mark is enough.
- Choose the bit. Match your drill bit diameter to the anchor’s recommended size. Usually, the bit matches the anchor’s outer diameter.
- Drill carefully. Go slow. Dust will fly. Use a vacuum or a brush to clear the hole. Debris prevents the anchor from sitting flush.
Installation Steps
Insert the anchor. Tap it in gently with a hammer until it is flush with the wall surface. Do not force it. If it sticks out, you drilled too shallow. If it goes in too deep, the screw won’t grip.
Drive the screw into the anchor. Stop when the head is secure but not so tight that it crushes the plastic anchor prematurely. Leave a small gap for the hook to hang freely.
The Result
A clean entryway. No cracks. No falling hooks.
Heavy items stay put. Your walls remain intact through the holiday season and beyond. This is not about decorating. It is about structural integrity for your interior.
Take the time to pick the right hardware. It costs pennies. The alternative is patching holes and painting over mistakes.
Do it right once. The hooks will hold. The walls will stay smooth. Your winter storage will actually work.


