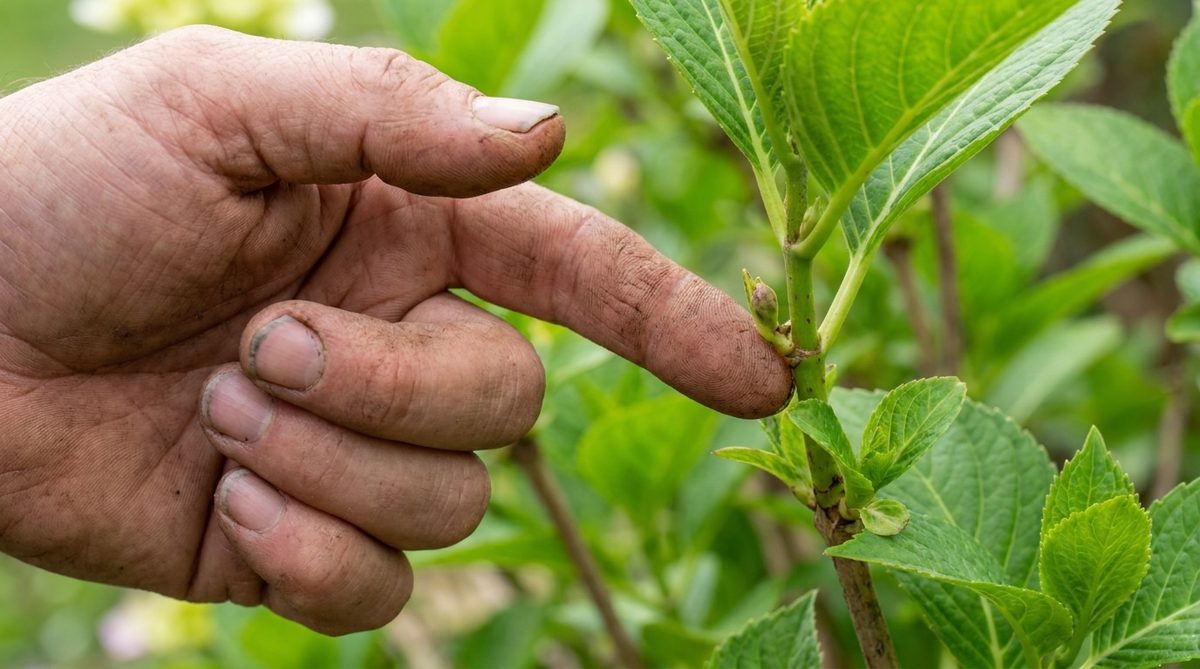
Commercial hydrangeas cost a fortune. You walk into a nursery, see that massive blue or pink bloom, and your wallet screams. But you don’t need to buy plants. You can clone them.
The secret isn’t complicated. It’s timing.
Your grandparents knew this. They didn’t buy new plants every spring. They took cuttings. The window is narrow. It opens right now. Late April.
If you wait too long, the wood gets too hard. If you wait too little, the shoots are too soft. You need that sweet spot. The energy is high. The sap is flowing. This is when nature wants to grow.
Here is how to multiply your hydrangeas without spending a dime.
Зміст
Selecting the Perfect Semi-Lignified Cutting
Don’t just chop anything off the bush. Your goal is a semi-lignified cutting.
This is a young shoot. It has started to harden slightly but isn’t fully woody yet. It’s not green and floppy like a new sprout. It’s not gray and brittle like an old branch. It’s in between.
Look for a stem that has a thin layer of bark forming.
Critical Rule: No flowers.
Inspect the tip. If there is a flower bud, toss it. The plant will try to bloom instead of rooting. That drains the energy. You need all that force to go into the roots.
Find a shoot with no floral buds. It should be healthy. No bugs. No disease.
The Cutting Technique
Grab your pruners. Clean them first. Wipe them with rubbing alcohol or bleach. You don’t want to introduce rot to a fresh wound.
Cut a section.
The length matters. Aim for 10 to 15 centimeters.
Make the cut just below a node. A node is the bump where leaves come out. This area is packed with growth hormones. Roots will emerge from here.
Strip the lower leaves.
Leave only the top two leaves. If those leaves are huge, cut them in half. This reduces surface area. Less evaporation. The plant loses less water while it struggles to survive without its roots.
You now have a bare stem with two small leaves at the top.
Applying Rooting Hormone
Ancient gardeners used willow water. It works. But if you want insurance, use powder.
Rooting hormone is cheap. It’s widely available.
Dip the bottom inch of your cutting into the powder. Shake off the excess. Don’t bury the powder. Just coat the cut surface.
This chemical signal tells the cells to divide. To become roots. It speeds up the process. It reduces failure rates.
If you don’t have hormone, you can try honey or aloe vera gel. They have mild antimicrobial properties. But the hormone is more reliable for stubborn shrubs like hydrangeas.
The Potting Mix
Do not use garden soil.
It’s too heavy. It compacts. It suffocates delicate new roots.
Mix your own potting medium.
Take a 50/50 blend of:
* Seed starting soil
* Perlite or coarse sand
This mix is airy. It drains fast. Oxygen reaches the roots. Roots need air as much as water.
Fill a small pot with this mix. Use a pencil to make a hole. Insert the cutting about an inch deep. Firm the soil around it gently.
Creating a Humid Microclimate
The cutting has no roots. It can’t drink. But the leaves are still transpiring.
You need to stop the water loss.
Cover the pot.
Use a clear plastic bottle. Cut off the bottom. Place it over the cutting like a dome.
Or use a clear plastic bag. Tuck it around the pot. Secure it with a rubber band or twist tie.
This traps humidity. Condensation will form on the inside of the plastic. It rains on the plant constantly. This keeps the leaves turgid. It gives the stem time to generate roots before it dries out.
Place the pot in bright, indirect light. No direct sun. The plastic will amplify heat. Direct sun will cook your cutting inside the mini-greenhouse.
Check the condensation daily. If it’s completely dry, mist the inside. If it’s dripping wet, let it air out for a few hours.
Roots take time. Don’t pull on the stem to check. It will break.
Wait four to six weeks. Then, gently tug. If you feel resistance, you have roots.
Once rooted, you can transplant them into the ground or larger pots.
The cost was zero. The effort was minimal. The result is a sea of blooms.
The hard part is waiting.
Watch the Clock During the Critical Four to Six Week Wait
The hard part is over. You’ve cut the stems. You’ve prepped the soil. Now you just have to wait. It’s boring. It’s agonizingly slow. But if you rush it, you kill the project before it starts.
Place your propagation setup in a spot that gets bright, indirect light. No direct sun. The glass or plastic acting as a mini-greenhouse will turn into an oven in minutes, steaming your cuttings to death. Keep it cool. Keep it stable.
You need to check on them. Not every day, but regularly. About once or twice a week, lift the cover for about ten minutes. This lets stale air escape and brings in fresh oxygen. It also gives you a chance to spot trouble early. Mold is the enemy here. If you see fuzzy white stuff on the soil or the stems, it’s too wet. Air it out more next time. If the cuttings are drying out and shriveling, they need more humidity. Adjust the venting. Find the sweet spot.
How to Tell Your Cuttings Have Successfully Rooted
After about a month and a half, your gut will tell you something is happening. But don’t just guess. Test it.
Gently tug on the cutting. A slight resistance means yes, roots have formed. If it slides out like it was never planted, no roots yet. Give it more time.
Look for visual cues too. New growth at the tip. Fresh, bright green leaves unfolding. This isn’t just decoration. It’s a sign the plant is pulling energy from its own roots now, not just surviving on the stem’s stored energy. That’s the victory moment.
Why This Method Beats Buying New Plants Every Season
Think about the cost. Think about the waste. Buying new plants every year adds up. And genetically identical store-bought plants are often weak, bred for shipping, not survival.
Propagating your own shrubs and perennials is free. It’s also better for the plant. You’re using a piece of a mature, proven survivor. It already has the genetics for your climate, your soil, your specific micro-environment.
The process is simple:
* Take a 4 to 6 inch cutting from soft, green wood (late spring is ideal).
* Remove lower leaves.
* Dip in rooting hormone (optional but helpful).
* Plant in moist, well-draining medium like perlite or sand.
* Cover to maintain humidity.
* Wait.
It’s alchemy. Turning one plant into five, then ten, then a whole garden.
How to Harden Off Your New Plants Before Planting Out
You have roots. You have new leaves. Now comes the shock.
You can’t just yank the cover off and throw them into full sun and wind. They’ll wilt and die. It’s a delicate transition.
Over the course of a week, gradually expose the cuttings to outside conditions. Lift the cover a little longer each day. Then move them to a shaded, sheltered outdoor spot for a few hours, bringing them back inside at night. This “hardening off” process toughens up their cell walls. It prepares them for reality.
Once they’re acclimated, pot them up individually in good quality potting mix. Keep them watered. Keep them protected from harsh midday sun. Don’t fertilize heavily yet; the roots are still figuring themselves out.
Wait until the first hard frost has passed and the soil has warmed. Then they’re ready for their final destination. Your garden bed. Your border. Your landscape.
The Long Game of Gardening
There’s a satisfaction in this that buying a potted plant at the store doesn’t replicate. You held the potential. You nurtured it through the vulnerable stage. You watched it struggle and then thrive.
It’s a small act of creation. And it’s repeatable.
Do it again next spring. Try a different shrub. A different herb. Watch what happens.
The garden doesn’t care about your schedule. It cares about patience. And if you’re willing to give it that, it will give you everything back.
Will you start your own patch this year? Or will you keep buying what’s already in the pot?