Your tree looks more like a sad stick than a festive beacon. That’s frustrating. But before you toss the whole strand in the trash, let’s talk about how to fix Christmas lights. It is rarely a total loss. Whether you are wrestling with modern LED strands or those old-school incandescent bulbs that get hot to the touch, a dark string usually has a specific, fixable culprit.
Here is the practical, hands-on approach to getting your lights back on.
Зміст
Check the Power Source First
It sounds obvious, but you’d be surprised how often the issue is just a loose connection or a tripped outlet. Start by ensuring the plug is seated firmly. If it’s plugged in, move the plug to a different outlet entirely.
Alternatively, take a different string of lights that you know works and plug it into the same socket. This simple swap tells you immediately if the problem is the wall power or the lights themselves.
While you are at the plug, look closely. Check for visible damage to the female socket (where the cord enters the bulb) and the male plug end. Frayed wires or cracked plastic housings can kill a circuit. Many standard light strings also contain a small fuse inside the plug body. If the power is good but the lights are dead, this tiny component is often the problem.
Inspect for a Blown Fuse
Most incandescent light strands have a small fuse compartment built into the plug. It’s usually a small, sliding metal door or a screw-cap at the end of the plug.
Grab a small flathead screwdriver. Carefully pry it open. Inside, you will typically find two small cylindrical fuses. Pull them out. Hold them up to the light. If the thin wire inside is broken or the glass is darkened, that fuse is blown.
If one is out, replace it. You must use a fuse with the exact same voltage and amperage rating. Using the wrong spec can blow the new fuse instantly or, worse, cause a fire hazard. For most standard C7 or C9 incandescent strands, this is a standard 3-amp fuse. If your lights are LED, they often do not have replaceable fuses, or the issue lies elsewhere.
Look for a Bad Bulb
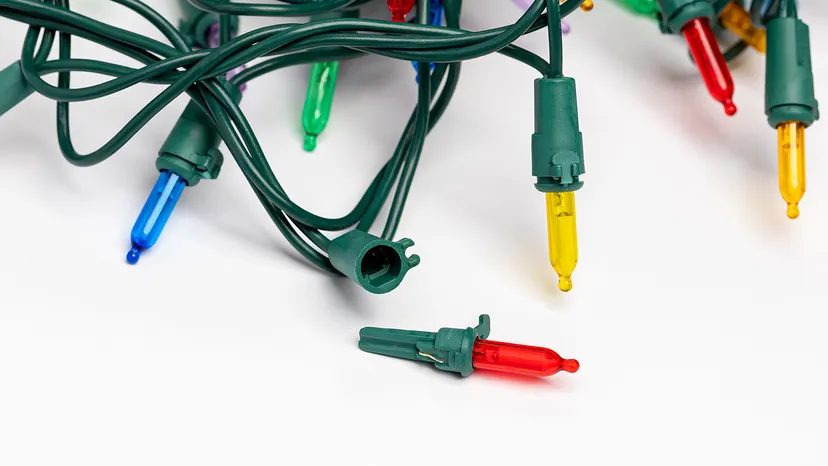
This is the most common reason for partial darkness. In older incandescent sets, the bulbs are wired in series. If one bulb burns out or has a broken filament, it breaks the circuit for the entire string—or at least the section after that bulb.
You need to find the bad one. If half the string is dark, the culprit is the last good bulb in the lit section. Start there.
Unscrew the bulb. Inspect the filament. Is it broken? Is the base corroded? Sometimes a bulb just needs a tight twist. Other times, it needs replacement. If you don’t have spares, you can sometimes temporarily bridge the gap by removing the dead bulb and screwing in a “shunt” bulb, which is designed to bypass the broken filament. But for a permanent fix, you need a matching replacement bulb.
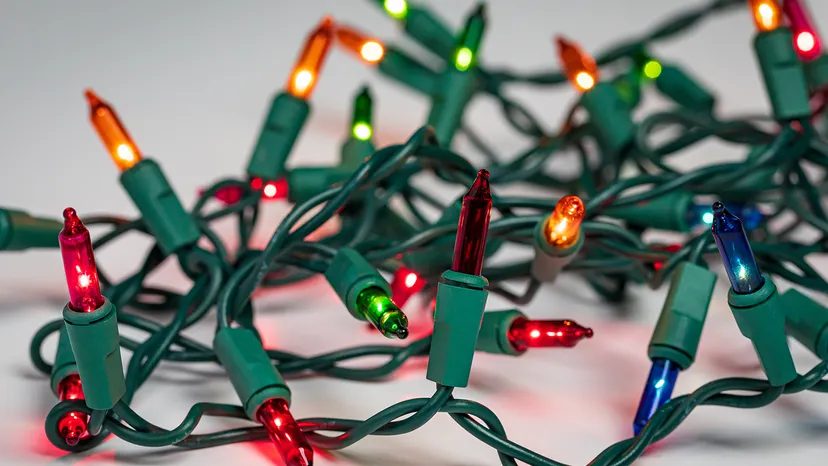
Inspect for Burned-Out Bulbs and Circuit Breaks
With older incandescent strands, a single dead bulb acts like a tripped breaker for the whole string. One bad link kills the circuit. Start at one end and check every bulb. Look closely for darkened glass or broken filaments. If you spot a suspect, pull it out and swap it for an exact replacement. Don’t guess. Mismatched specs can cause issues later.
Remember this simple rule: if one bulb fails in a traditional series circuit, all the lights go out. It’s that direct.
LED strings behave differently. They are usually built with multiple series-wired segments connected in parallel. So, if one LED dies, it doesn’t take down the whole show. It just creates a dark section. You might see the first half glowing while the second half sits in darkness.
Check for Loose Connections
Loose bulbs are a sneaky culprit. They break the contact without showing obvious damage. Gently press each light into its socket. Ensure it is fully seated. If a bulb pops out too easily or feels wobbly, it’s time to replace it. Even one lamp out of place interrupts the flow of electricity. Tighten the connection or swap the bulb. Simple fix, big difference.
Use a Tester to Pinpoint the Fault
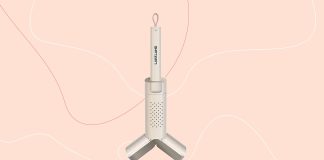
Sometimes visual inspection isn’t enough. A light tester or voltage detector can save you hours of frustration. These tools are especially useful when half the lights work and the other half don’t. The device senses electrical current and helps you pinpoint exactly where the circuit breaks.
Slide the tester along the wire. Watch the indicator. When the signal drops, you’ve found the break. Replace the faulty bulb right there. It’s a precise way to debug complex strings without pulling your hair out.
Isolate or Replace the Damaged Section
If replacing bulbs and checking fuses doesn’t work, you might need to isolate the bad section. Be careful here. Do not cut out the non-working part to reconnect wires directly. Altering the number of bulbs changes the voltage load on the remaining lights. This can easily blow them out. It’s a common mistake that leads to more broken lights.
If the string is too damaged to fix, the safest option is to replace the entire set. Cutting wires and splicing connections requires specific knowledge of voltage ratings and insulation. For most homeowners, buying new lights is safer and more cost-effective than risking a fire hazard or further damage.
Test Before Hanging
Before you climb the ladder with a step stool and a tangled mess, test the strand. Plug it in. Watch for flickering, dim spots, or complete failure. If it works, you’re good to go. If not, you’ve saved yourself the hassle of unpacking everything twice. Safety first. Efficiency second.
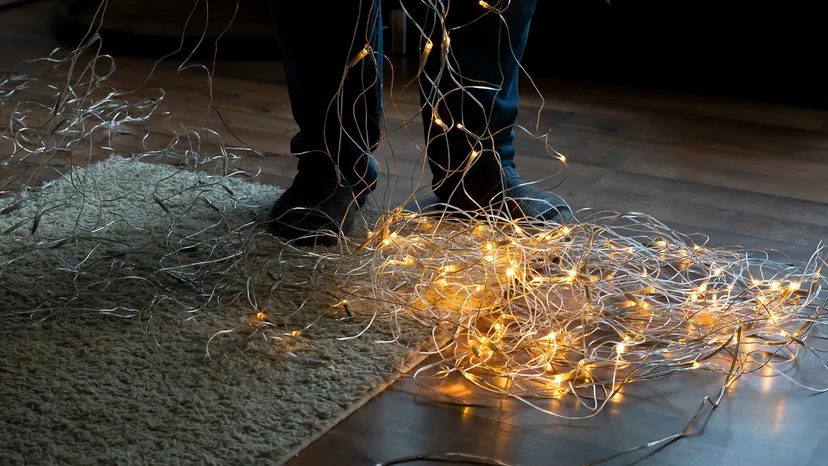
Plug the strand in before you hang a single bulb. Seriously. Do not drape the lights over the tree or along the eaves until you verify they actually work. There is nothing quite as frustrating as spending hours decorating, only to realize one section is dead. You want to catch the failure while it is still on the floor, not tangled in pine branches.
Storage and Safety for Next Year
When the season ends, handle the cords with care. Coiling them tightly or tossing them into a bin creates kinks and stress points that break wires inside the insulation. Wrap them loosely.
If you have strands that are already dead, label them clearly. Mark which one is broken and where the failure likely is. This saves you time next December when you are sorting through the box.
Keep a stash of spare bulbs and fuses nearby. It sounds obvious, but it is easy to forget the small glass replacements until you need them in the dark.
One critical rule for next time: never mix LED and incandescent strings on the same circuit. The incandescent bulbs draw significantly more power. This higher load can overload and fry the lower-voltage LED strings. Keep the circuits separate.
You do not need a degree in electrical engineering to fix holiday lights. Just a little patience, the right tools, and a willingness to look inside the casing. Bring the cheer back.
Merry Christmas and happy repairing. 🎄